Belgarda Blazer - 1997 Yamaha TT600R Belgarda
Turn of the century luxury still has its own perks in 2021, and this Italian / Japanese collaboration, rebirthed in Australia, shows signs of it’s globetrotting provenance from every angle.
Back in the day, the TT600 was one of a few road-legal big bore enduro bikes that were powerful enough to tackle long distance adventure riding whilst light enough to tear up any gnarly trail you can point it at.
The TT600R Belgarda was an upspecced special model with their Italian distributors which featured weight savings again via a kick-start only ignition, lightweight alloy swingarm, lightened flywheel, alloy muffler and a few other bits and pieces. It seemed only natural to want to take that further down its pathway, whilst adding some retro vibes and optimizing certain elements to suit its mixture of urban, enduro, and dust hustle responsibilities.
The bike was in need of fresh rubbers, bearings and seals across the intakes / frame / swingarm / oil tank / forks and brakes, so it seemed the right path to strip it all down and go from there. The subframe was the first thing attacked, chopping about 10” from the middle section and rewelding the original hoop back on with added jacketing to strengthen. From there, the motor was sent off to Mike at Brisbane Vapour Blasting and I set to work mocking up several tanks to replace the plastic stock tank.
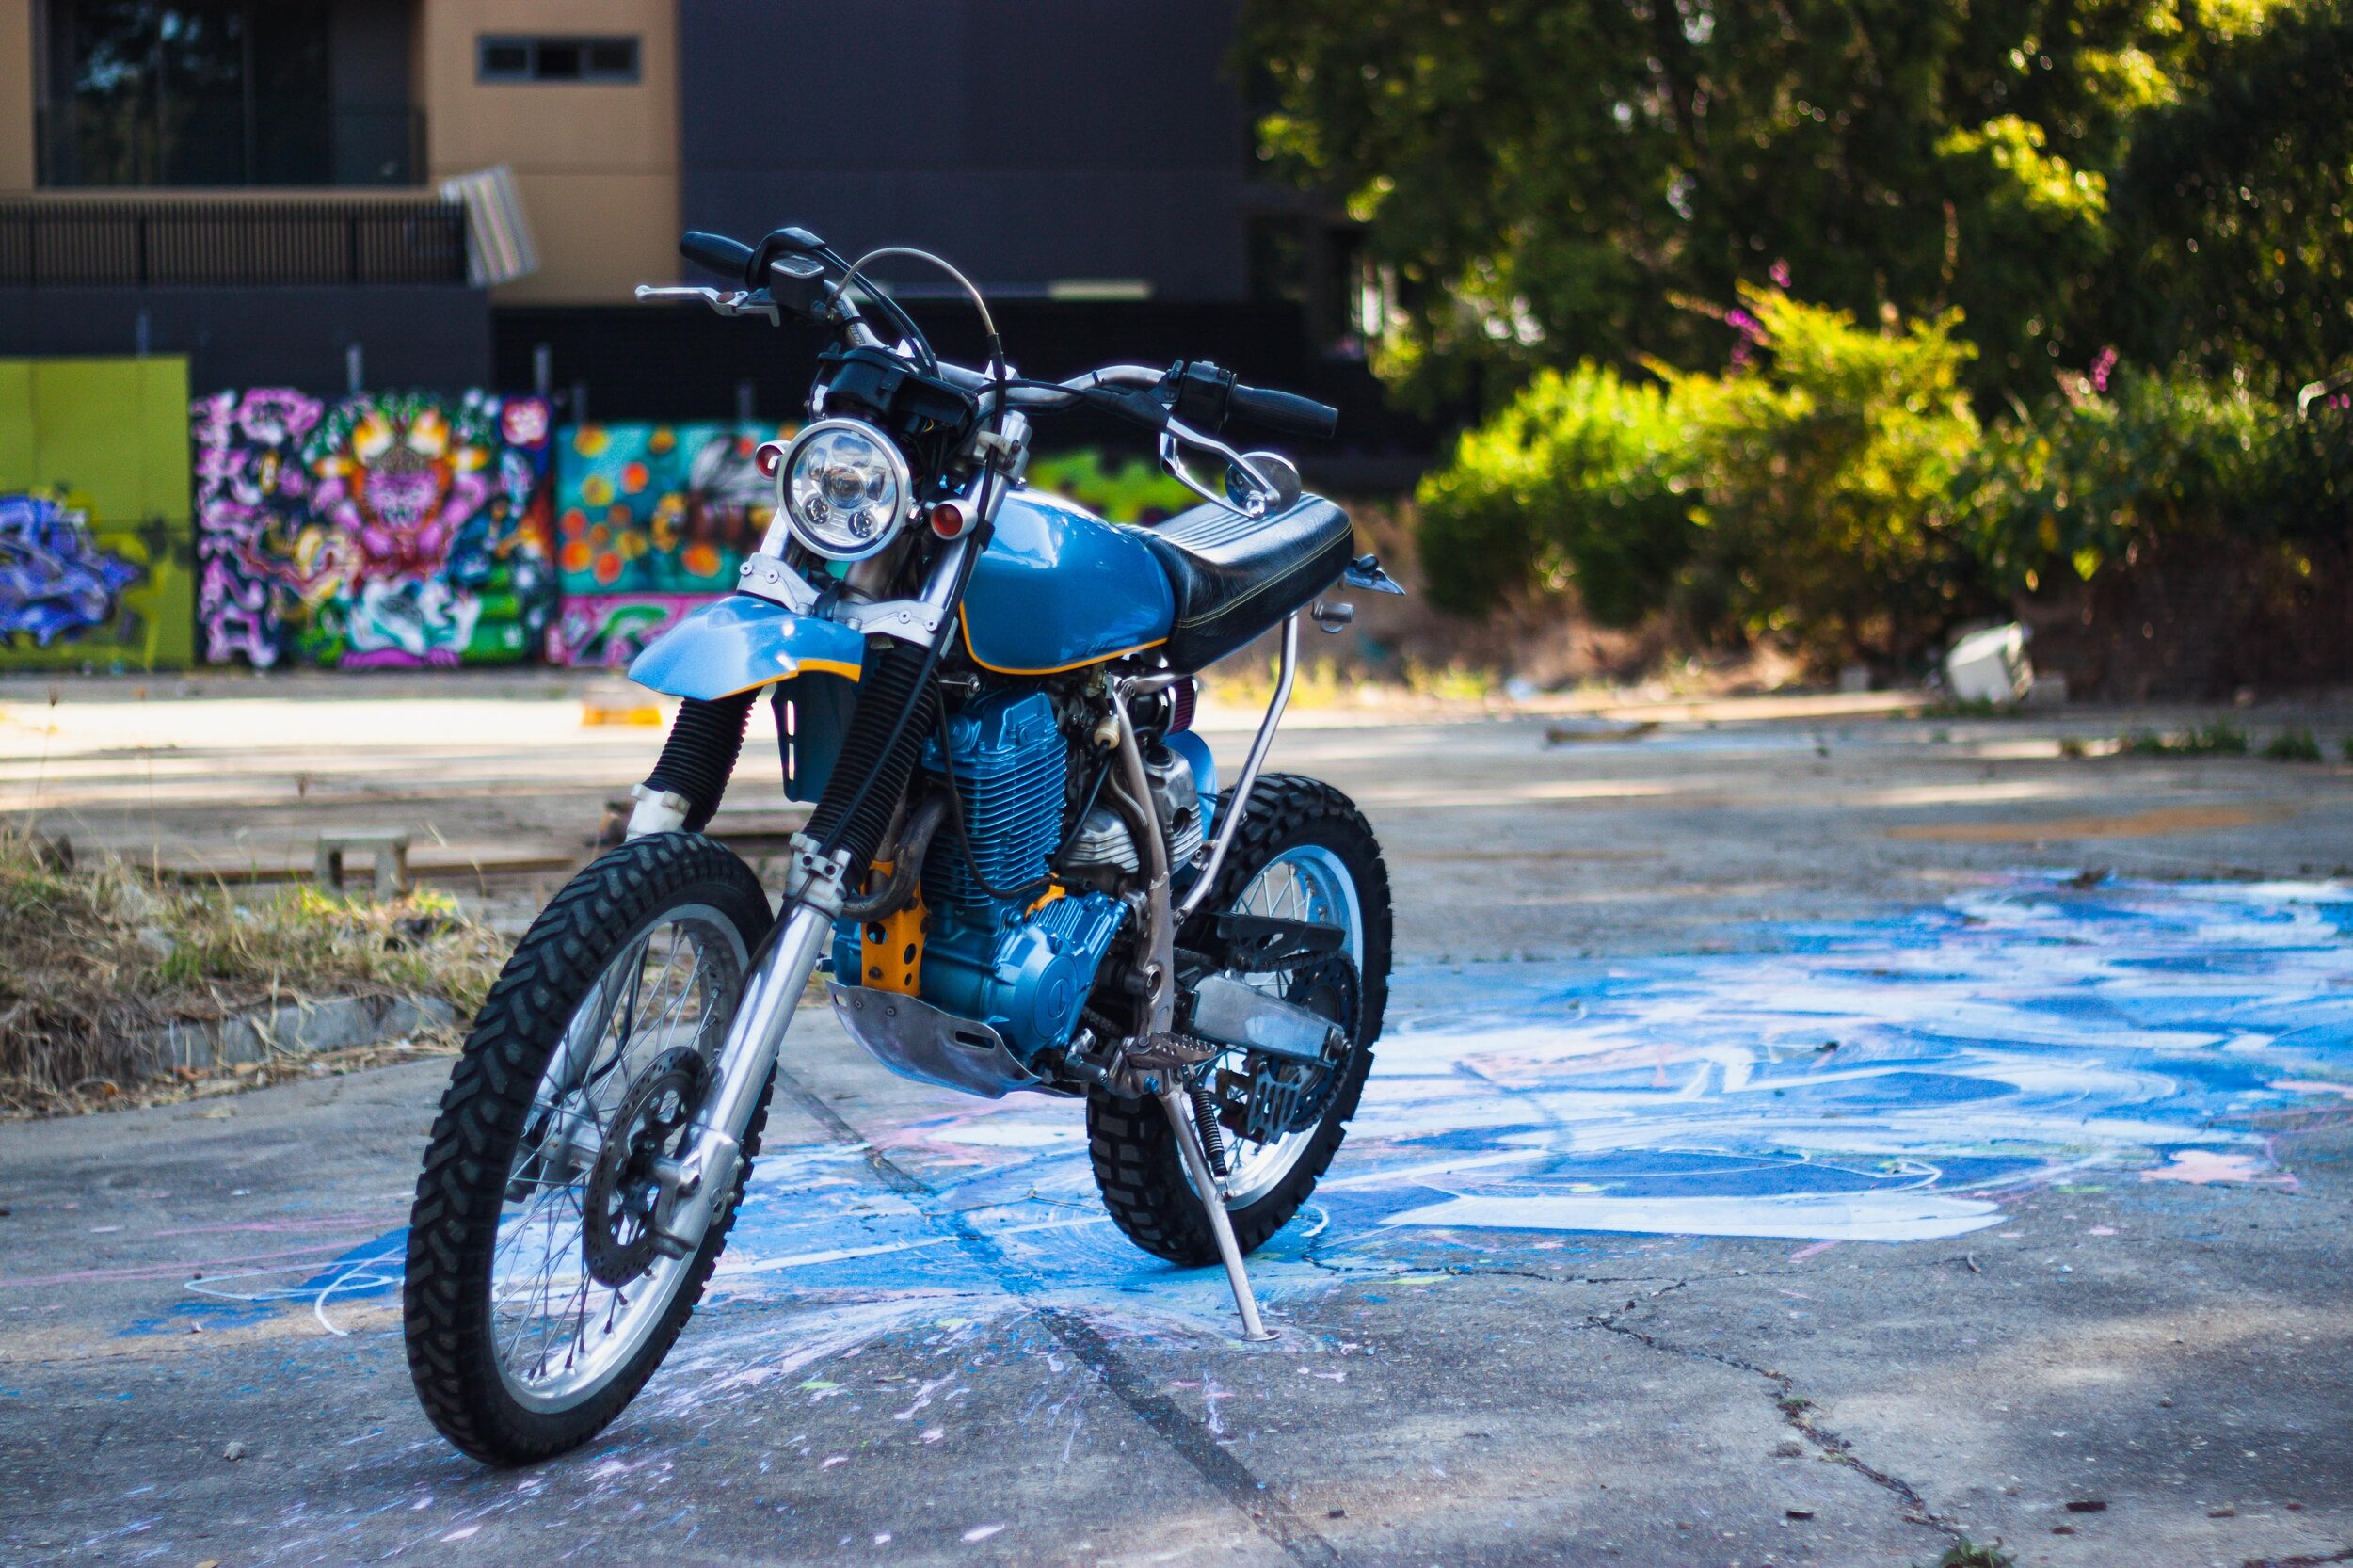
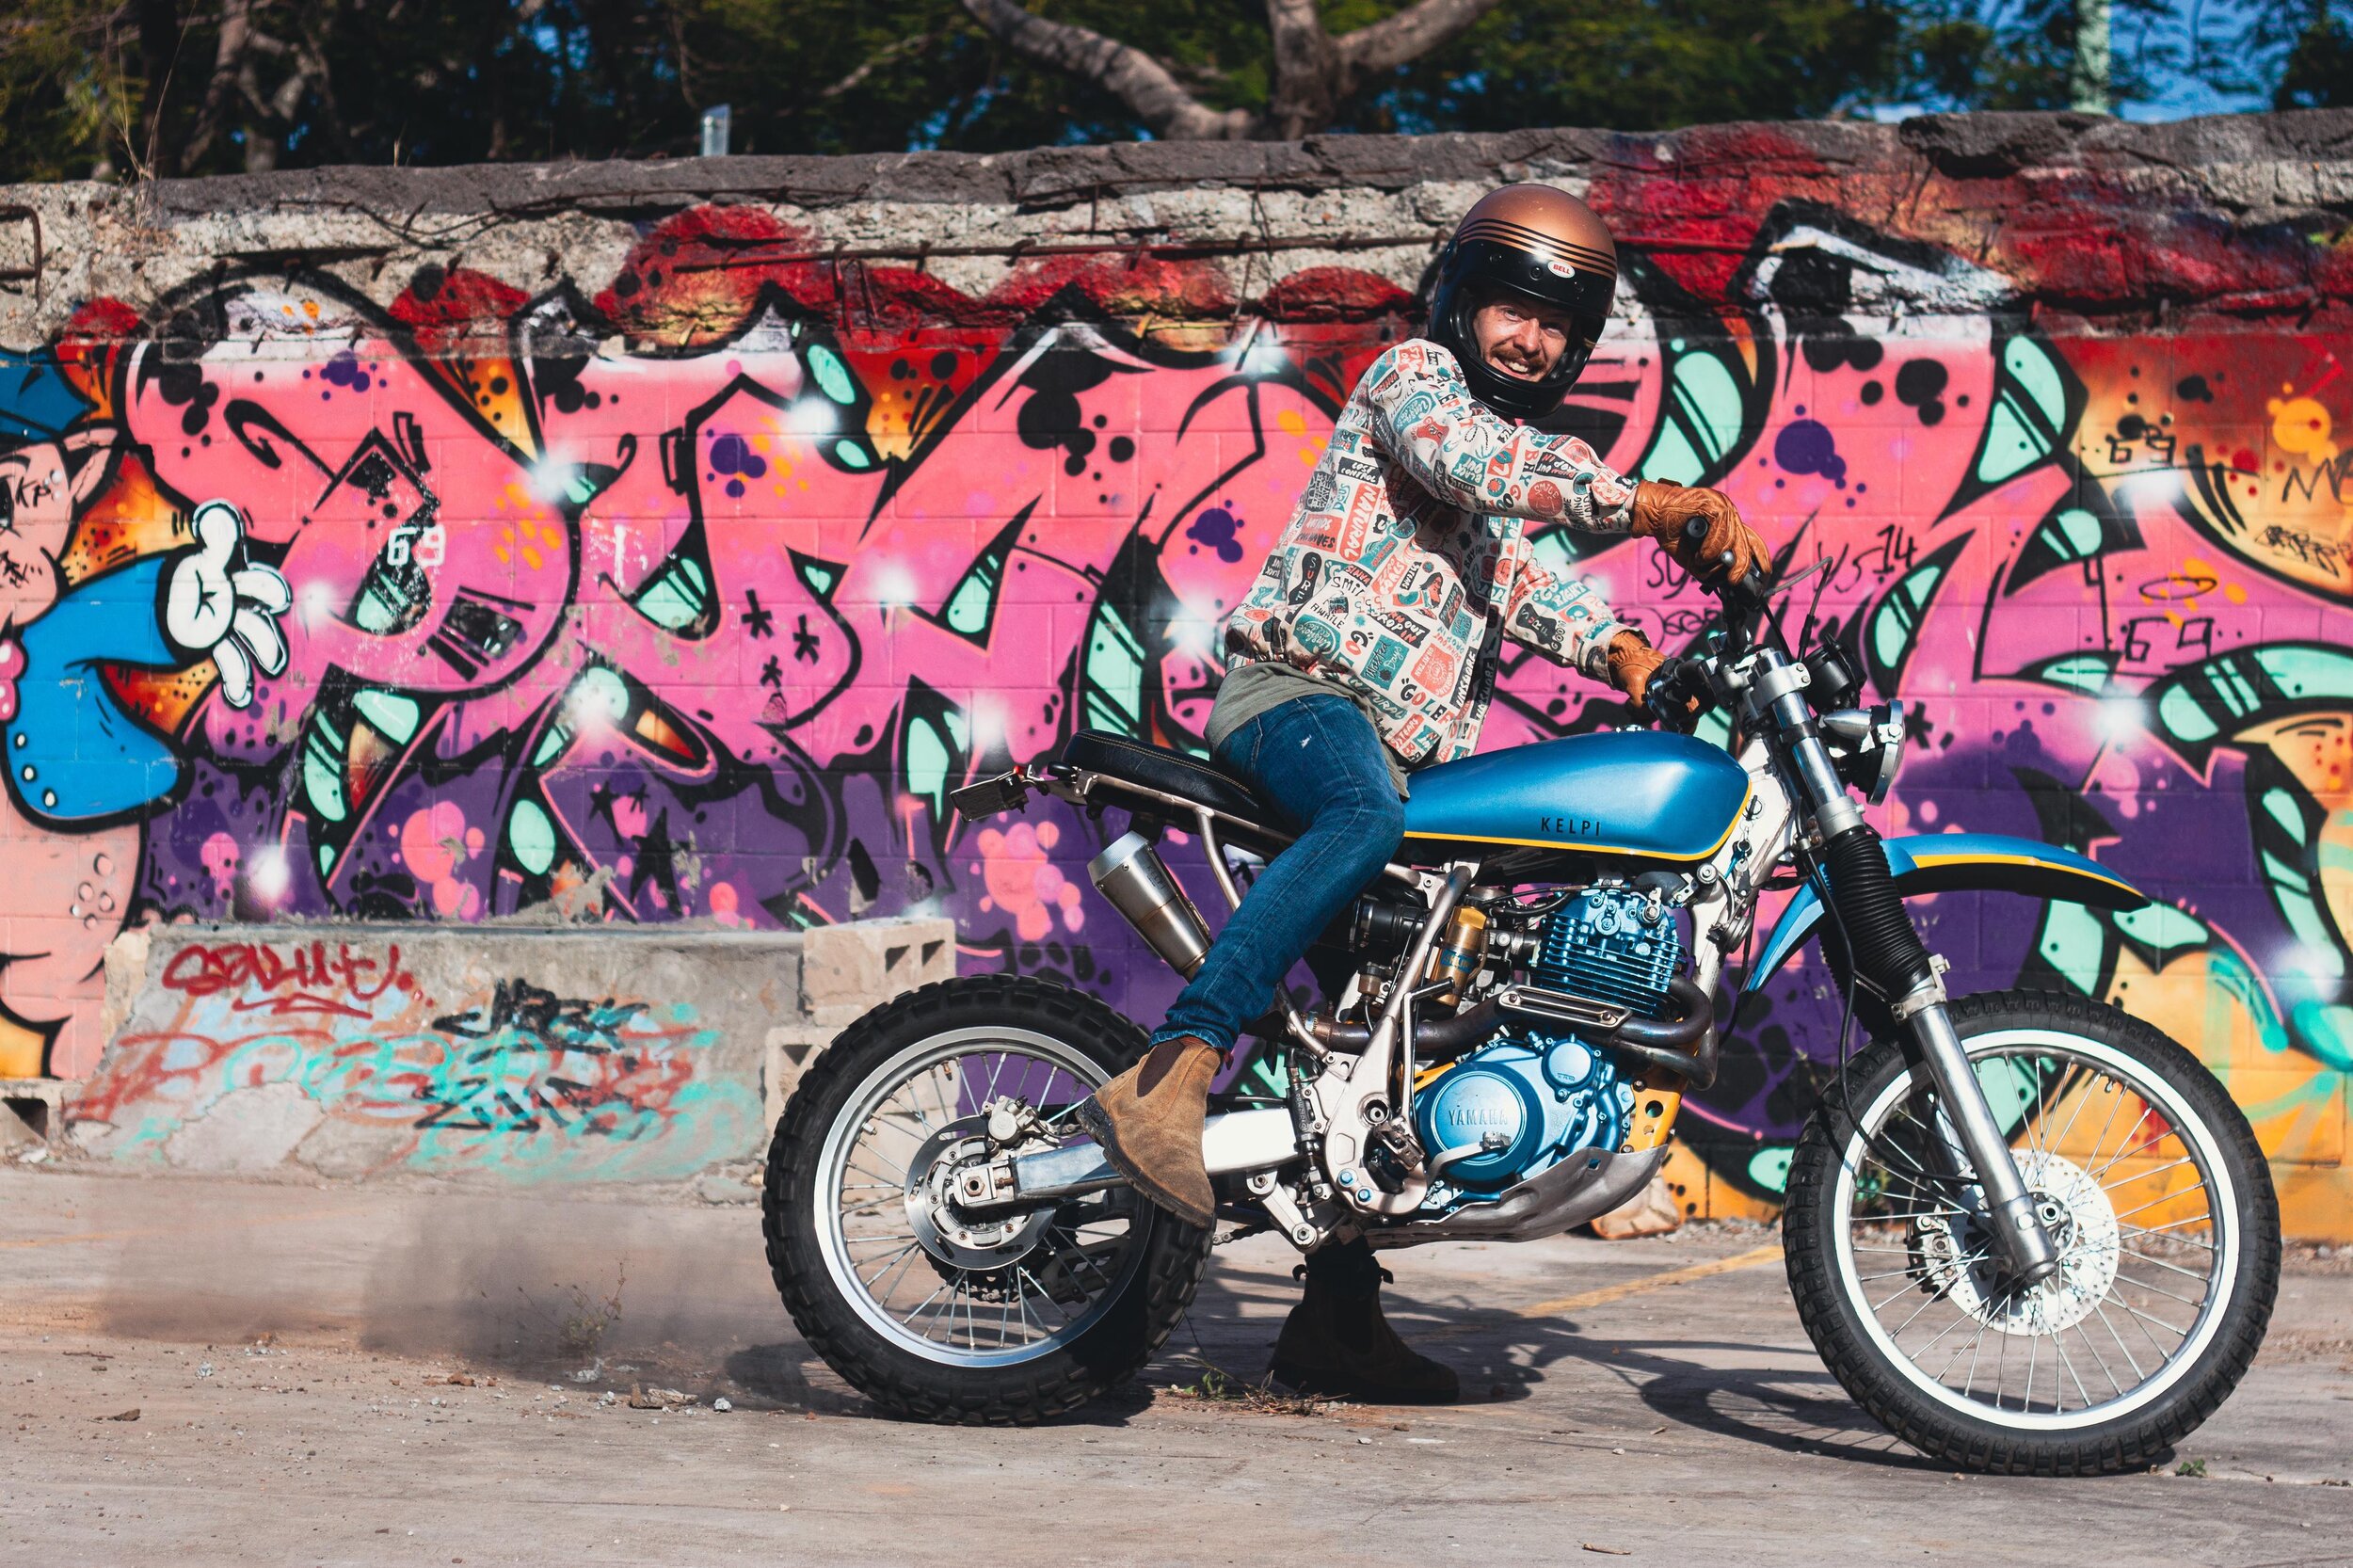
A vintage CG125 tank worked to lengthen the horizontal lines and balance out the spindly dirt bike geometry, and a raised rear mount and front rubber stay-mounts were welded up once the position felt right. I didn’t want to be taking much ground clearance away from the build, as many opt for with Street Scramblers. The seat pan was fiberglassed up and then shaped upwards at the front to match the raised tank, with the end result raising the rider even higher due to a serious dose of plush ball-cushioning.
As a kick-start only big single, this bike isn’t for the faint of heart, and I wanted it to still remain intimidating to throw a leg over whilst also staying very much dirt capable. The kind of bike where the you’re not fussy where you leave it, confident that only the most savvy will be skilled and in-the-know enough to kick it over and ride away with it. A quick look on the TT600R forums highlights a very specific process for confidently starting this bike every time, and once you’re clued in, it’s that easy that you feel like you’ve entered some IRL cheat code.
Once the motor came back from blasting, it was time to sort out some mechanical upkeep. The forks and shock was rebuilt by Chris at XXX Rated Suspension whilst the valve clearances were adjusted and decompression cable system overhauled with Raf at Mostyn. I fabbed up the Kelpi Shorty muffler to sit quite high, and from there, it was time to begin the nightmare of tuning a YDIS twin carb setup to pods.
For anyone doing this process, the best info I can give you is to a) match the stock airbox manifold diameters, b) ensure your running either the stock intake manifolds or custom manifolds that allow for 6” or more of post-filtered air, c) ensure you use air filters that allow for enough flow rate for the big single, and d) spend $60 on the sigma jetting kit as there is no other way to purchase a correct main jet for this weird YDIS system.
The bike went up onto the dyno many many times before this recipe was proved - in hindsight, I would opt for 150mm long Unifilter foam filters for this system to ensure as much low end throttle response as possible. Everything rushed together from that point very quickly, with the tank, motor and fenders painted in 2k stellar blue metallic, with vintage yellow highlights across some of the engine mounts and details. A DRZ motard fender replaced the very tired and crumbling stock fender, with a rear fender fabbed up and mounted off of the swingarm. The seat foam was finished off in a long grain black trim with kelpi ridgeback central line inserts in matching blue and yellow, a yamaha tool roll added to the end of the subframe for safe keeping.
Blindsider LED indicators and a Koso Hawkeye brake light tidied the rear up significantly, and the Clearway 5.75” LED Headlight in brushed alloy collar was matched up with some vintage brushed alloy halogen indicators to tie the top of the front end to the forks and swingarm.
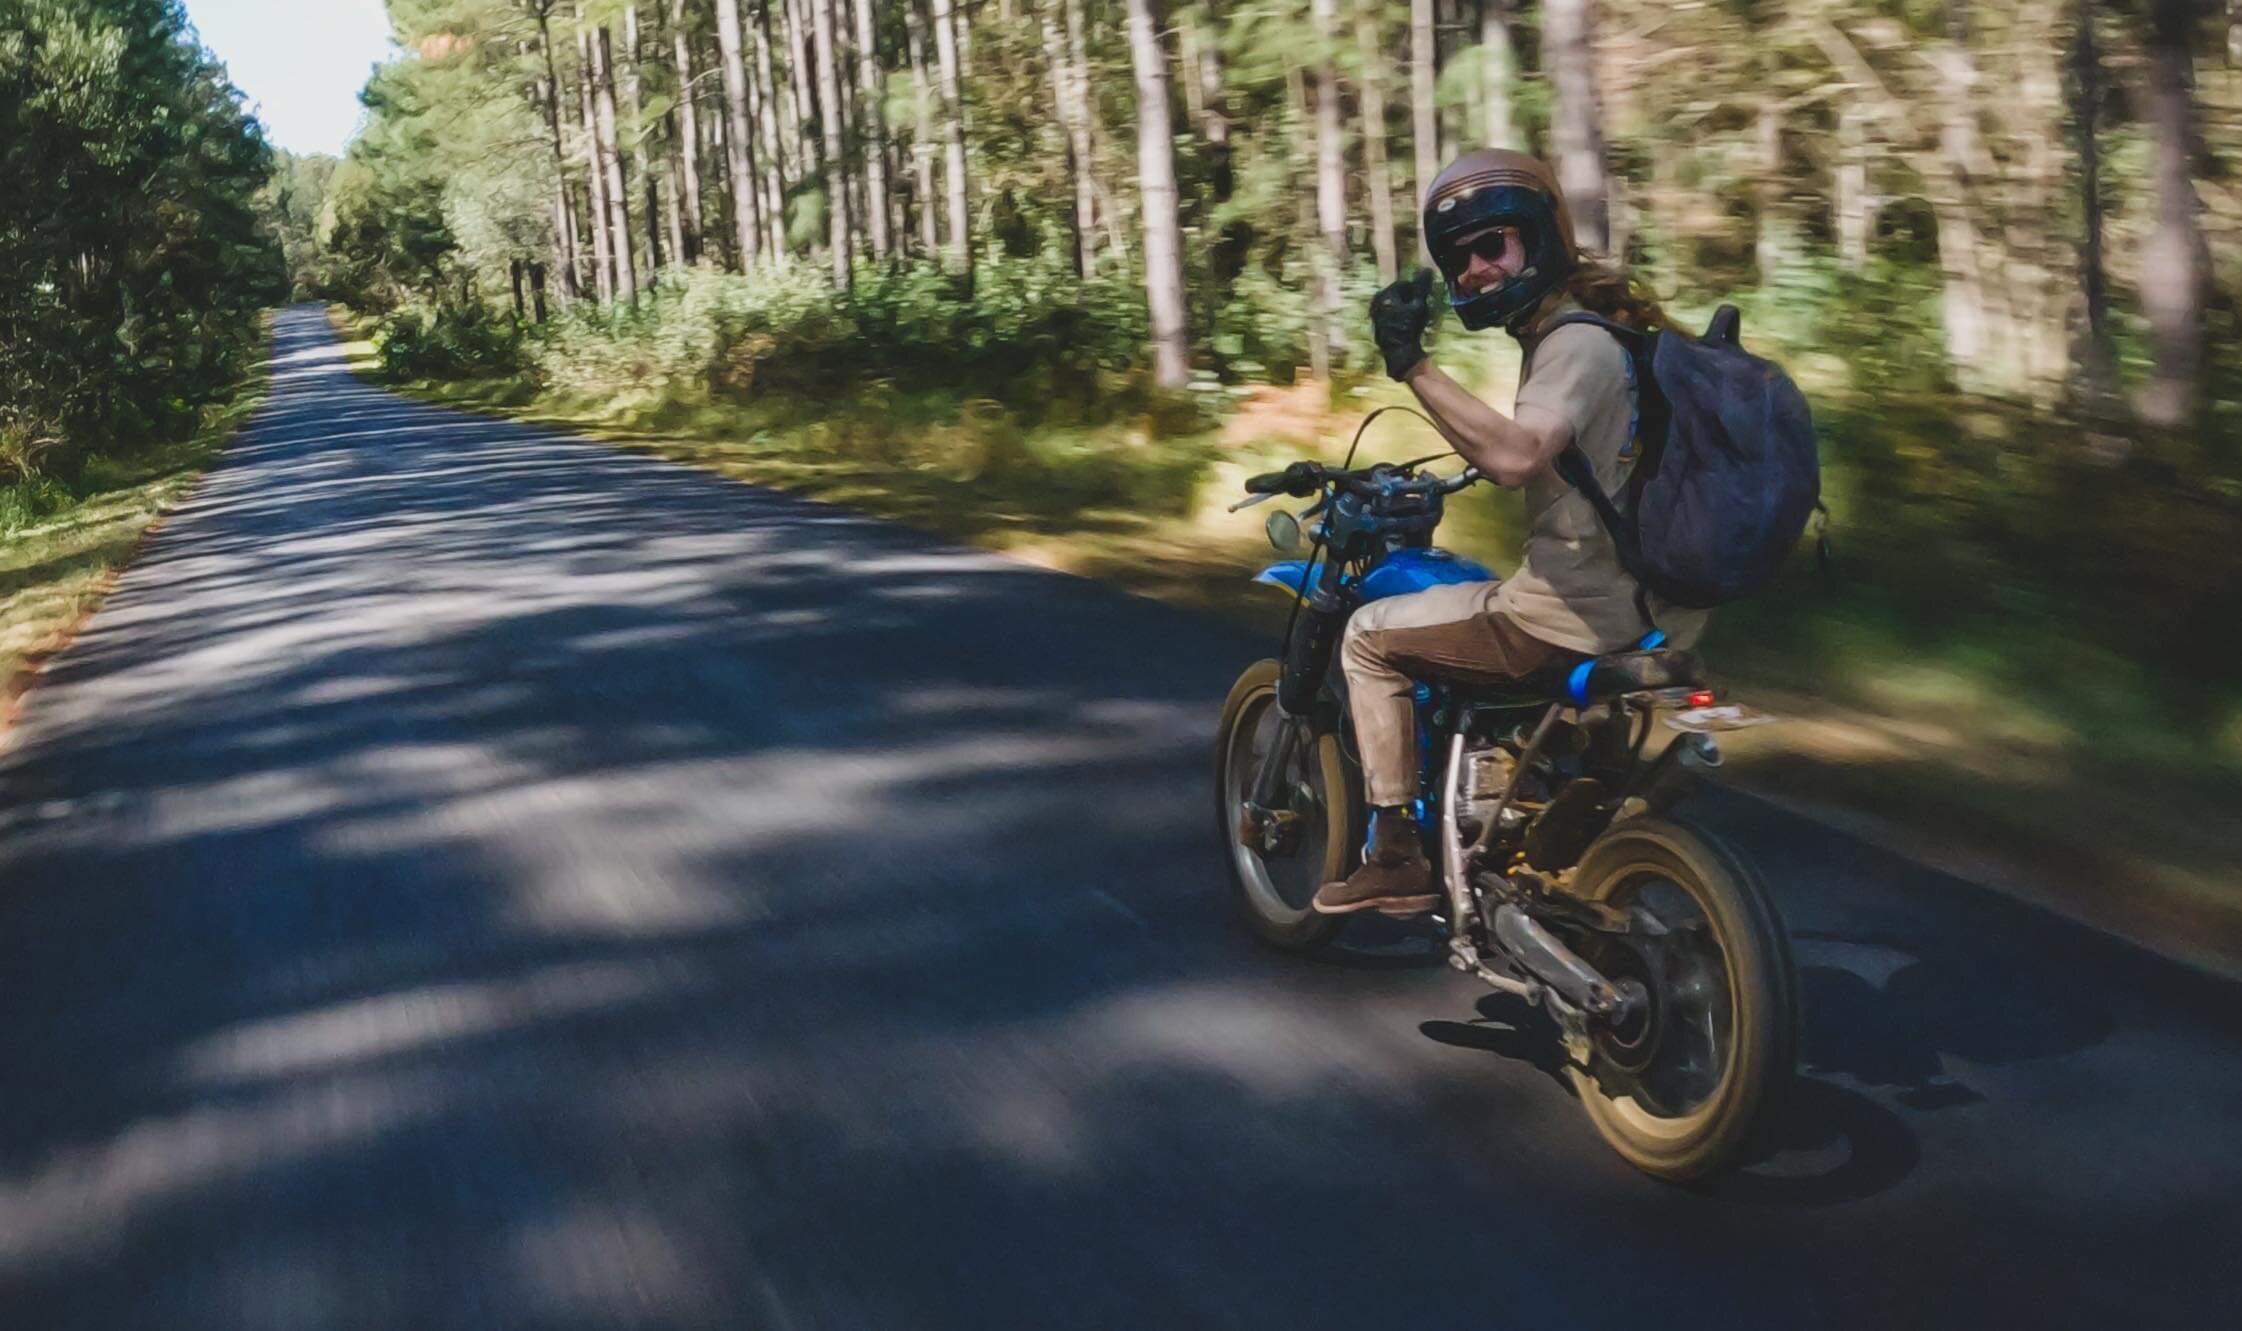
Mostly complete, the bike underwent some heavy duty off-road testing with Josh Bailey from @lifeofascrambler, and after the picture above was taken, further modifications were made to the air intake, exhaust, suspension settings, rear fender placement and handlebar placement as a result. Once adjusted, the bike went out for round two and I found it just as dirt capable as stock (though a lot harder to get clean afterwards... ).
This was a light-hearted build that was never intended for hardcore enduro riding, more as a slightly left-of-field do-anything casual rider. That said, it ended up being more than capable for dirt, street, highways and more. In all of my trips around the glasshouse mountains dirt trails, I’ve never had so many people in bikes and 4x4’s pull over or chase me down to ask what I’m riding and how it goes.
Cheers to Raf at Mostyn Motorcycles, Alex at Skinny’s Garage, Mike at Brisbane Vapour Blasting, Chris at XXX Rated Suspension, Taka at Yamaha Caboolture, Hughan at Ellaspede, Hoss at Hostyl Fabrications, and Francis Von Tuto for their help and guidance across the build.


